Some photos from AWA this year by Washu Otaku Photography
You can see more on the Washu Otaku Facebook page
Costume and Prop Making Warehouse
Some photos from AWA this year by Washu Otaku Photography
You can see more on the Washu Otaku Facebook page
Major Kite has been browsing the internet for some dieselpunk inspiration. The best thing she found lately: painted bomber jackets.
During WWII, bomber pilots were given a standard brown leather jacket to keep them warm in their planes. These young men frequently chose to decorate their jackets – in addition to the official patches displayed on the front and sleeves of their jackets, hand painted images started appearing on the back. These scenes featured cartoon characters and pin up girls and non standard military iconography. They also frequently kept an account of the missions run by pilots.

The Dragonfly Armory Squad had a busy year this year at Dragon Con: we marched in the parade, helped host the only Dieselpunk panel, and were featured in the Alternative History Museum and the Tinker’s Clockwork Carnival. We made guest appearances at the Mechanical Masquerade and participated in several photo shoots.
It’s been almost a month since Dragon Con, but I’m still caught up in the glory and costuming.
Stay tuned for our highlights from this year, and what we’re looking forward to!
 photo from Jamie & Adam’s Tested.com
– Colonel Kite
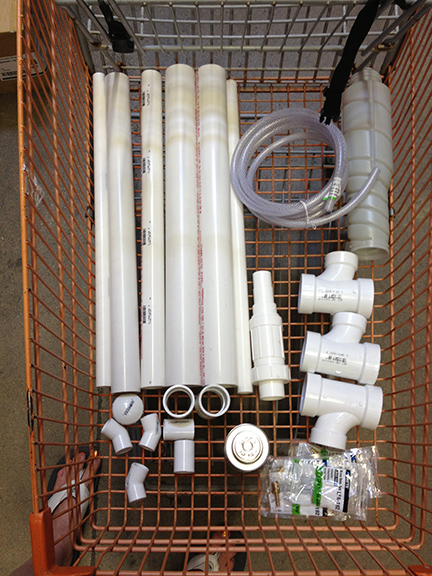
I was commissioned a few month ago to build a weapon for Dragon*Con by one my squad members. Unlike the majority of prop builders online, I don’t have the know-how or equipement to make molds and castings for my props. The path I have chosen in reacent years has been to build my props using materials that I can buy at Home Depot. For the most part 90% of my props materials are bought at Home Depot. They should sponsor me I think.

Posted by Colonel Griffon — Here is the next step in my weapon build. I brought my sketch into Adobe Illustrator and traced it. After tracing the sketch I put the new drawing over a grid where every square represents and inch. Then I scaled the drawing so that the length of the weapon was at four feet. The it was time to tweak the drawing—making edits to the look and being very precise on the measurements of all the parts. The reason I want to be correct with my numbers from the start is to make the build easier, especially when it comes time to cut the materials that will eventually become the final piece.
After I was satisfied with the look of the weapon I printed it out. Since the drawing is so large I had to print with the tile setting. The drawing above took 24 sheets of paper to print at 100% (including overlap around all sides for trimming the unneeded white boarded). Then I taped all the sheets together so I had the full drawing as a reference. Once I am ready to cut pieces I will lay the blueprint over my material with a sheet of carbon paper in between. So far this is the best way that I have found for transferring the blueprint to wood, MDF, plastic, etc.
Next step, cutting out the parts.

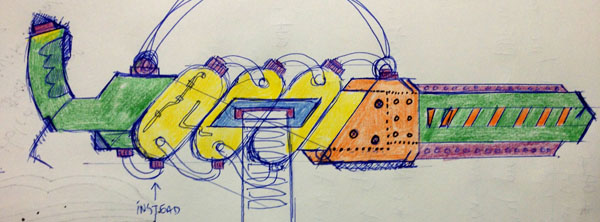
Posted by Colonel Griffon — I wanted to give you all a heads up on my new weapon idea for Dragon*Con (D*C) 2013. Right now the working name is DF13 Splice. In the past two years both my weapons have been around four feet in length. The weapon above will also be four feet in length.
The important thing to keep in mind as I finalize the “blueprint” is that this weapon needs to be able to come apart for cheaper shipping. I fly to D*C every year and don’t feel comfortable checking my props in at the airport. This year’s DF12 came apart in two parts which made it easier for mailing.
My plan is to use MDF, PVC pipes and end caps, and PVC board. I will be adding LEDs where I can to give the weapon some pizzaz.