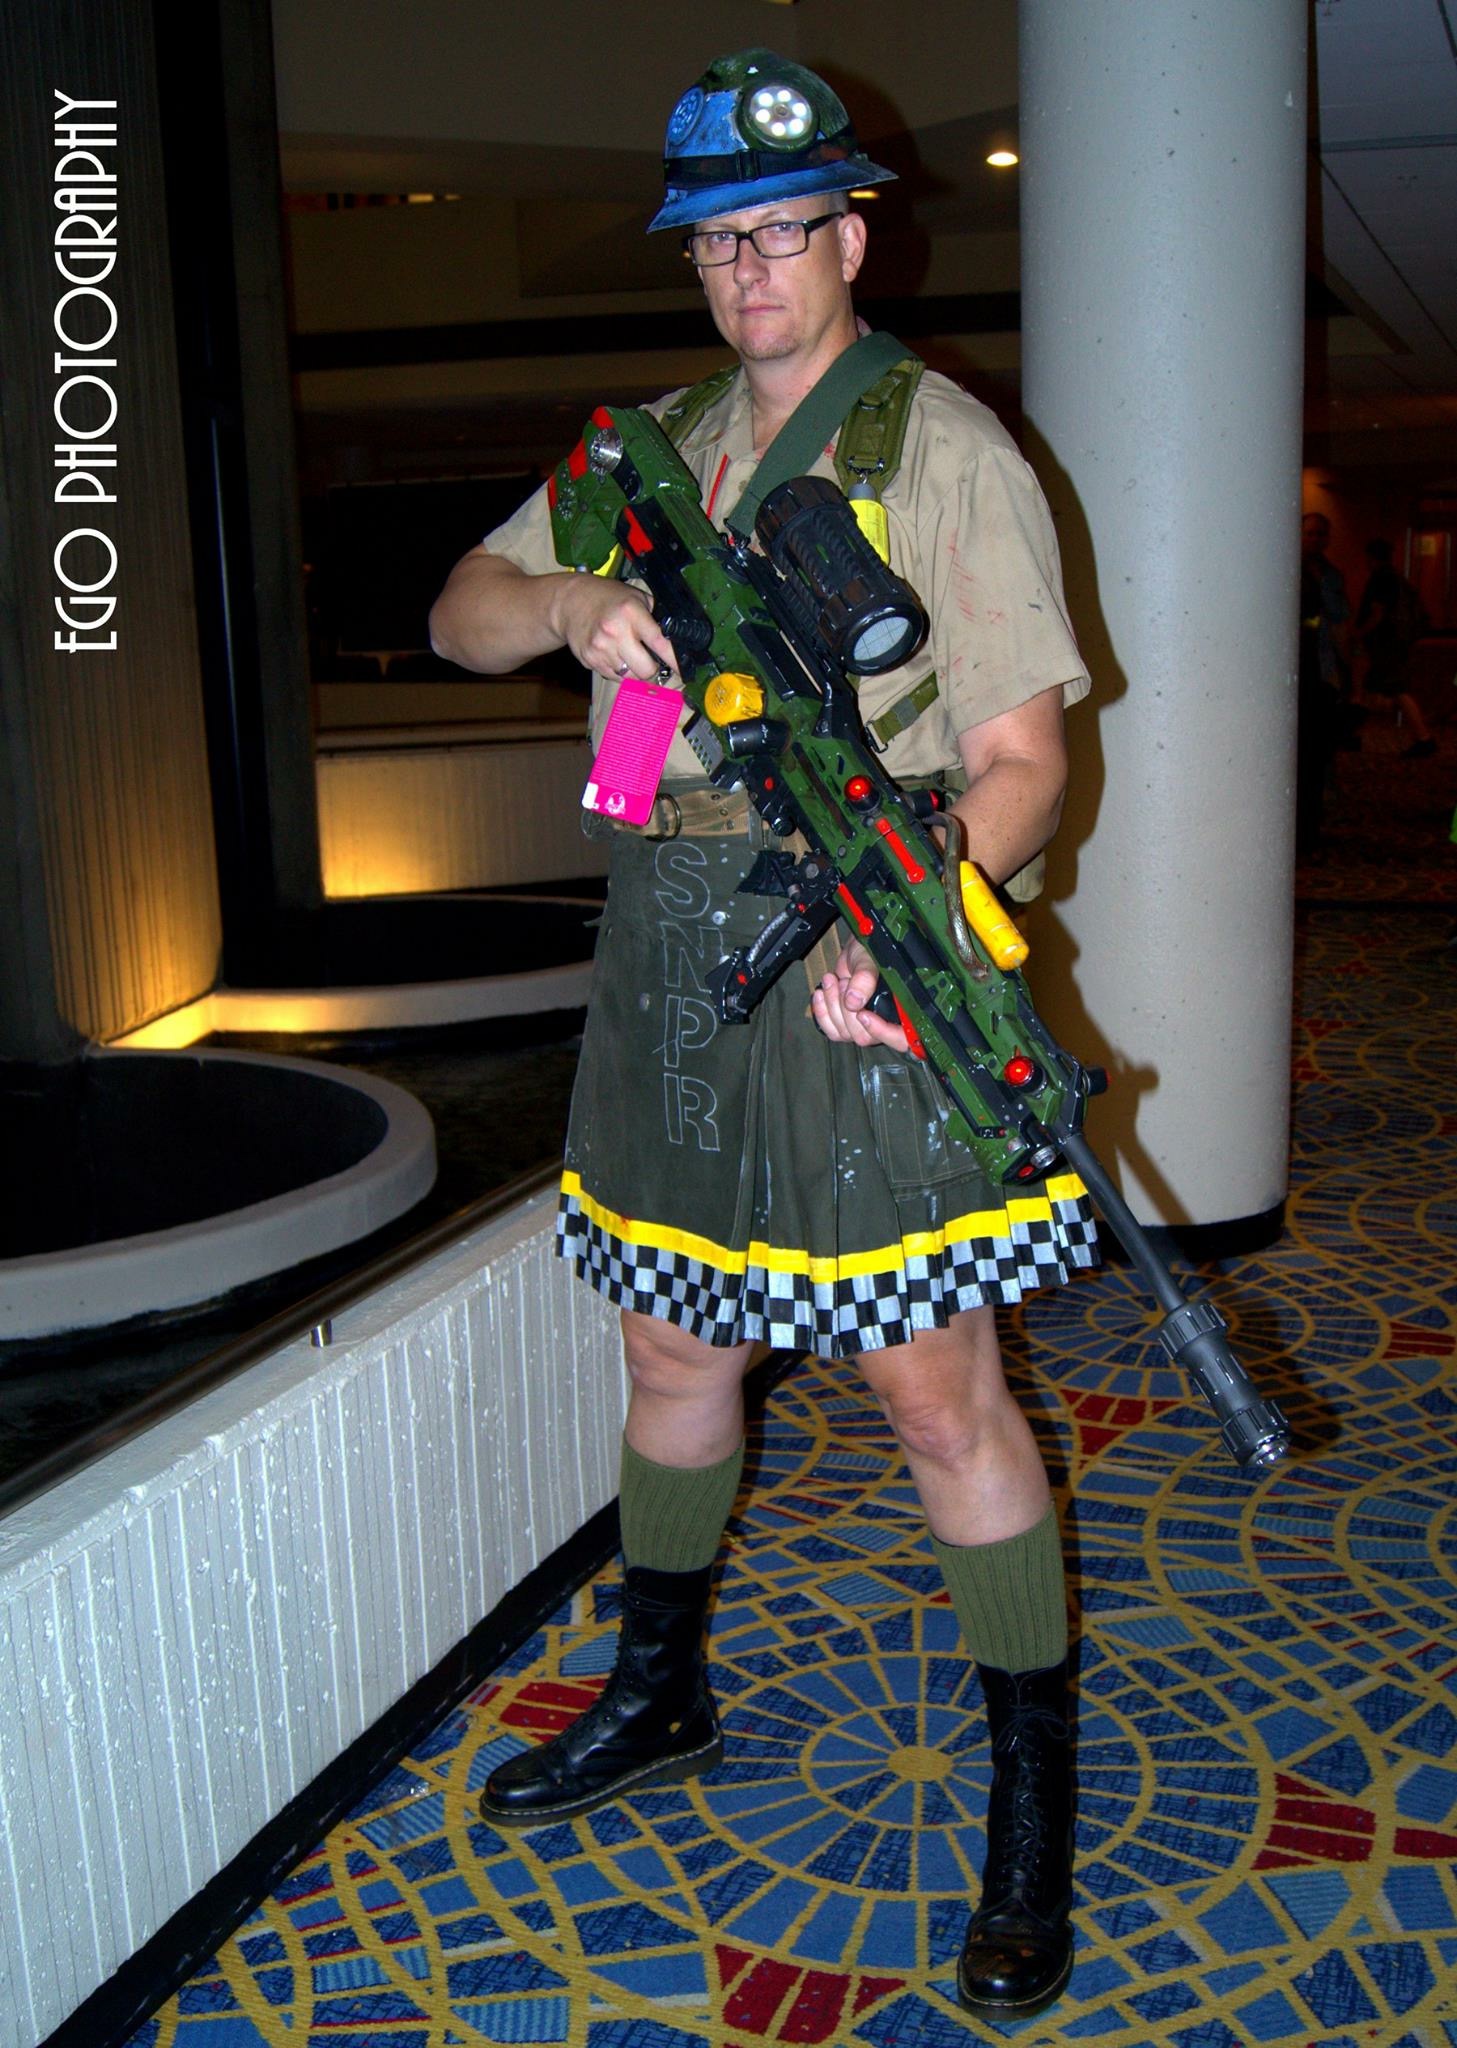
I’ll make the text quite short. Below are a few photos from Dragon•Con. It was fun and the costume was received with many compliments.


Costume and Prop Making Warehouse
I’ll make the text quite short. Below are a few photos from Dragon•Con. It was fun and the costume was received with many compliments.
In just over a week we will be packing the SUV with all our costumes and weapons and hitting the road — 12 hours from Maryland to Atlanta. Road Trip!
I’d be lying if I said that my costume was finished, I am sure I will be adding the final touches in our Westin hotel room. But no matter, the process of all our work, time, creativity and sweat culminating at Dragon•Con is well worth the effort and wait. Looking forward to drinking with all our friends, partying with new ones and basking in the glory of The Geek.

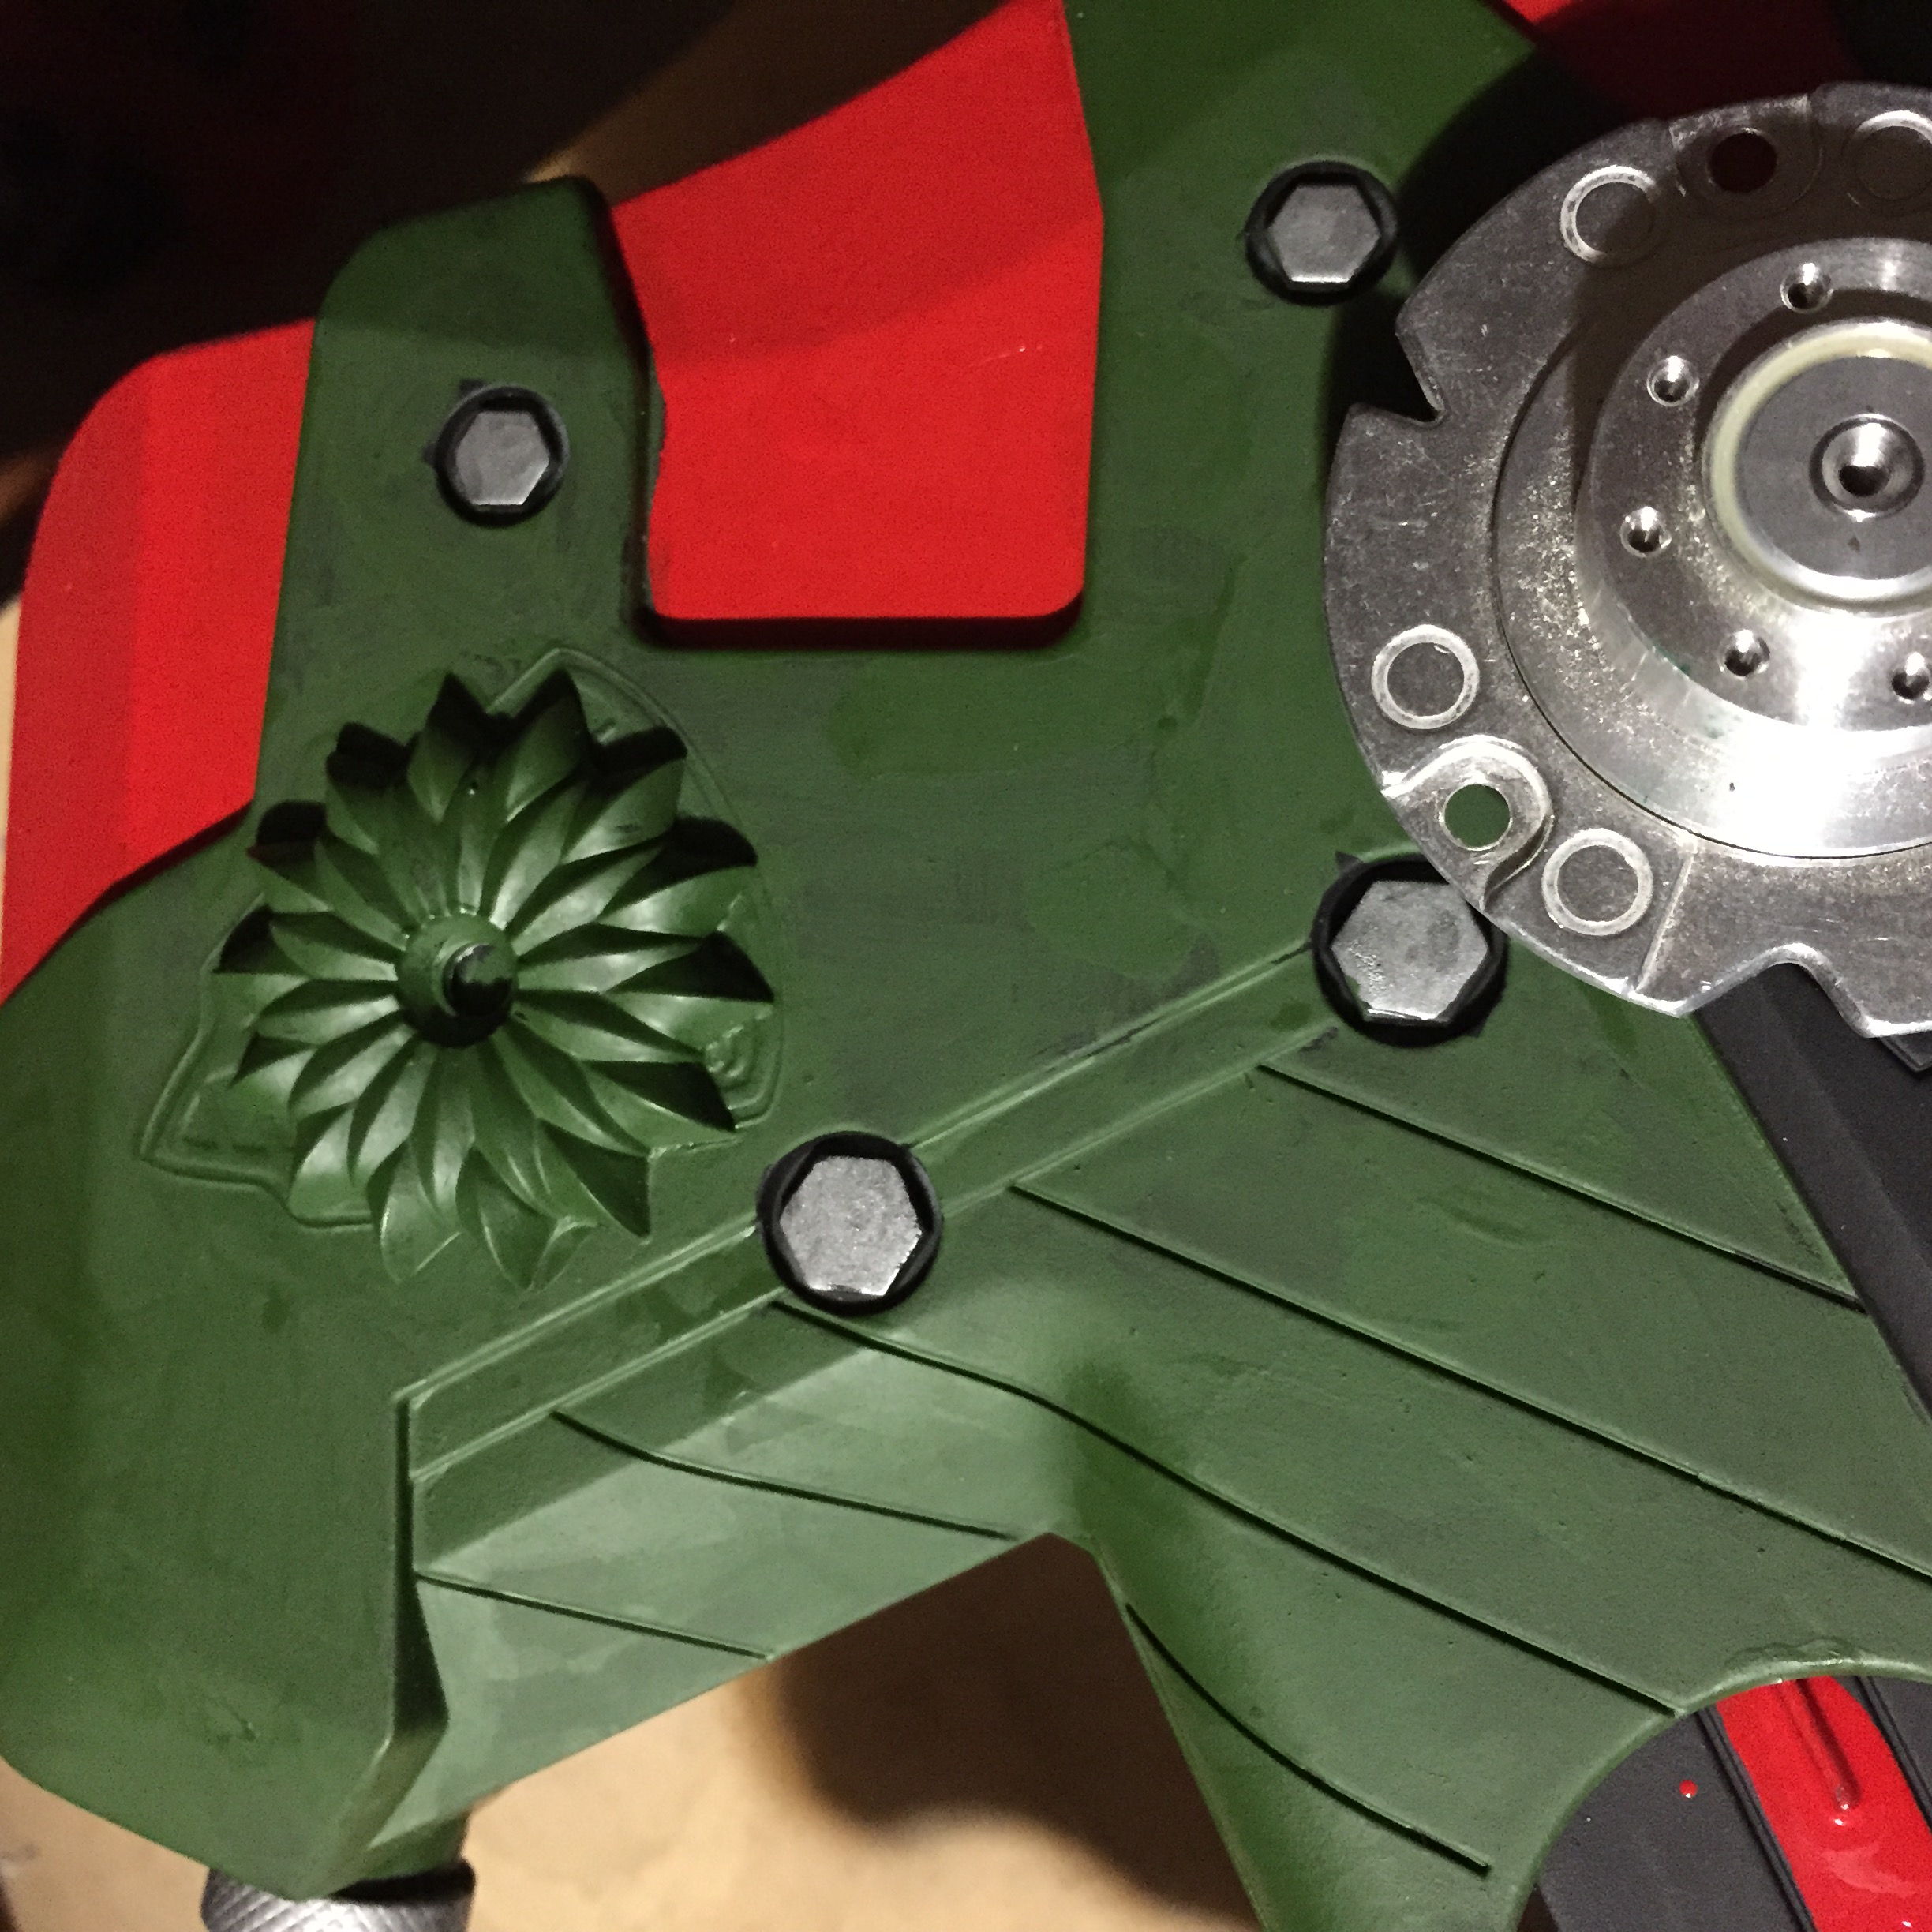
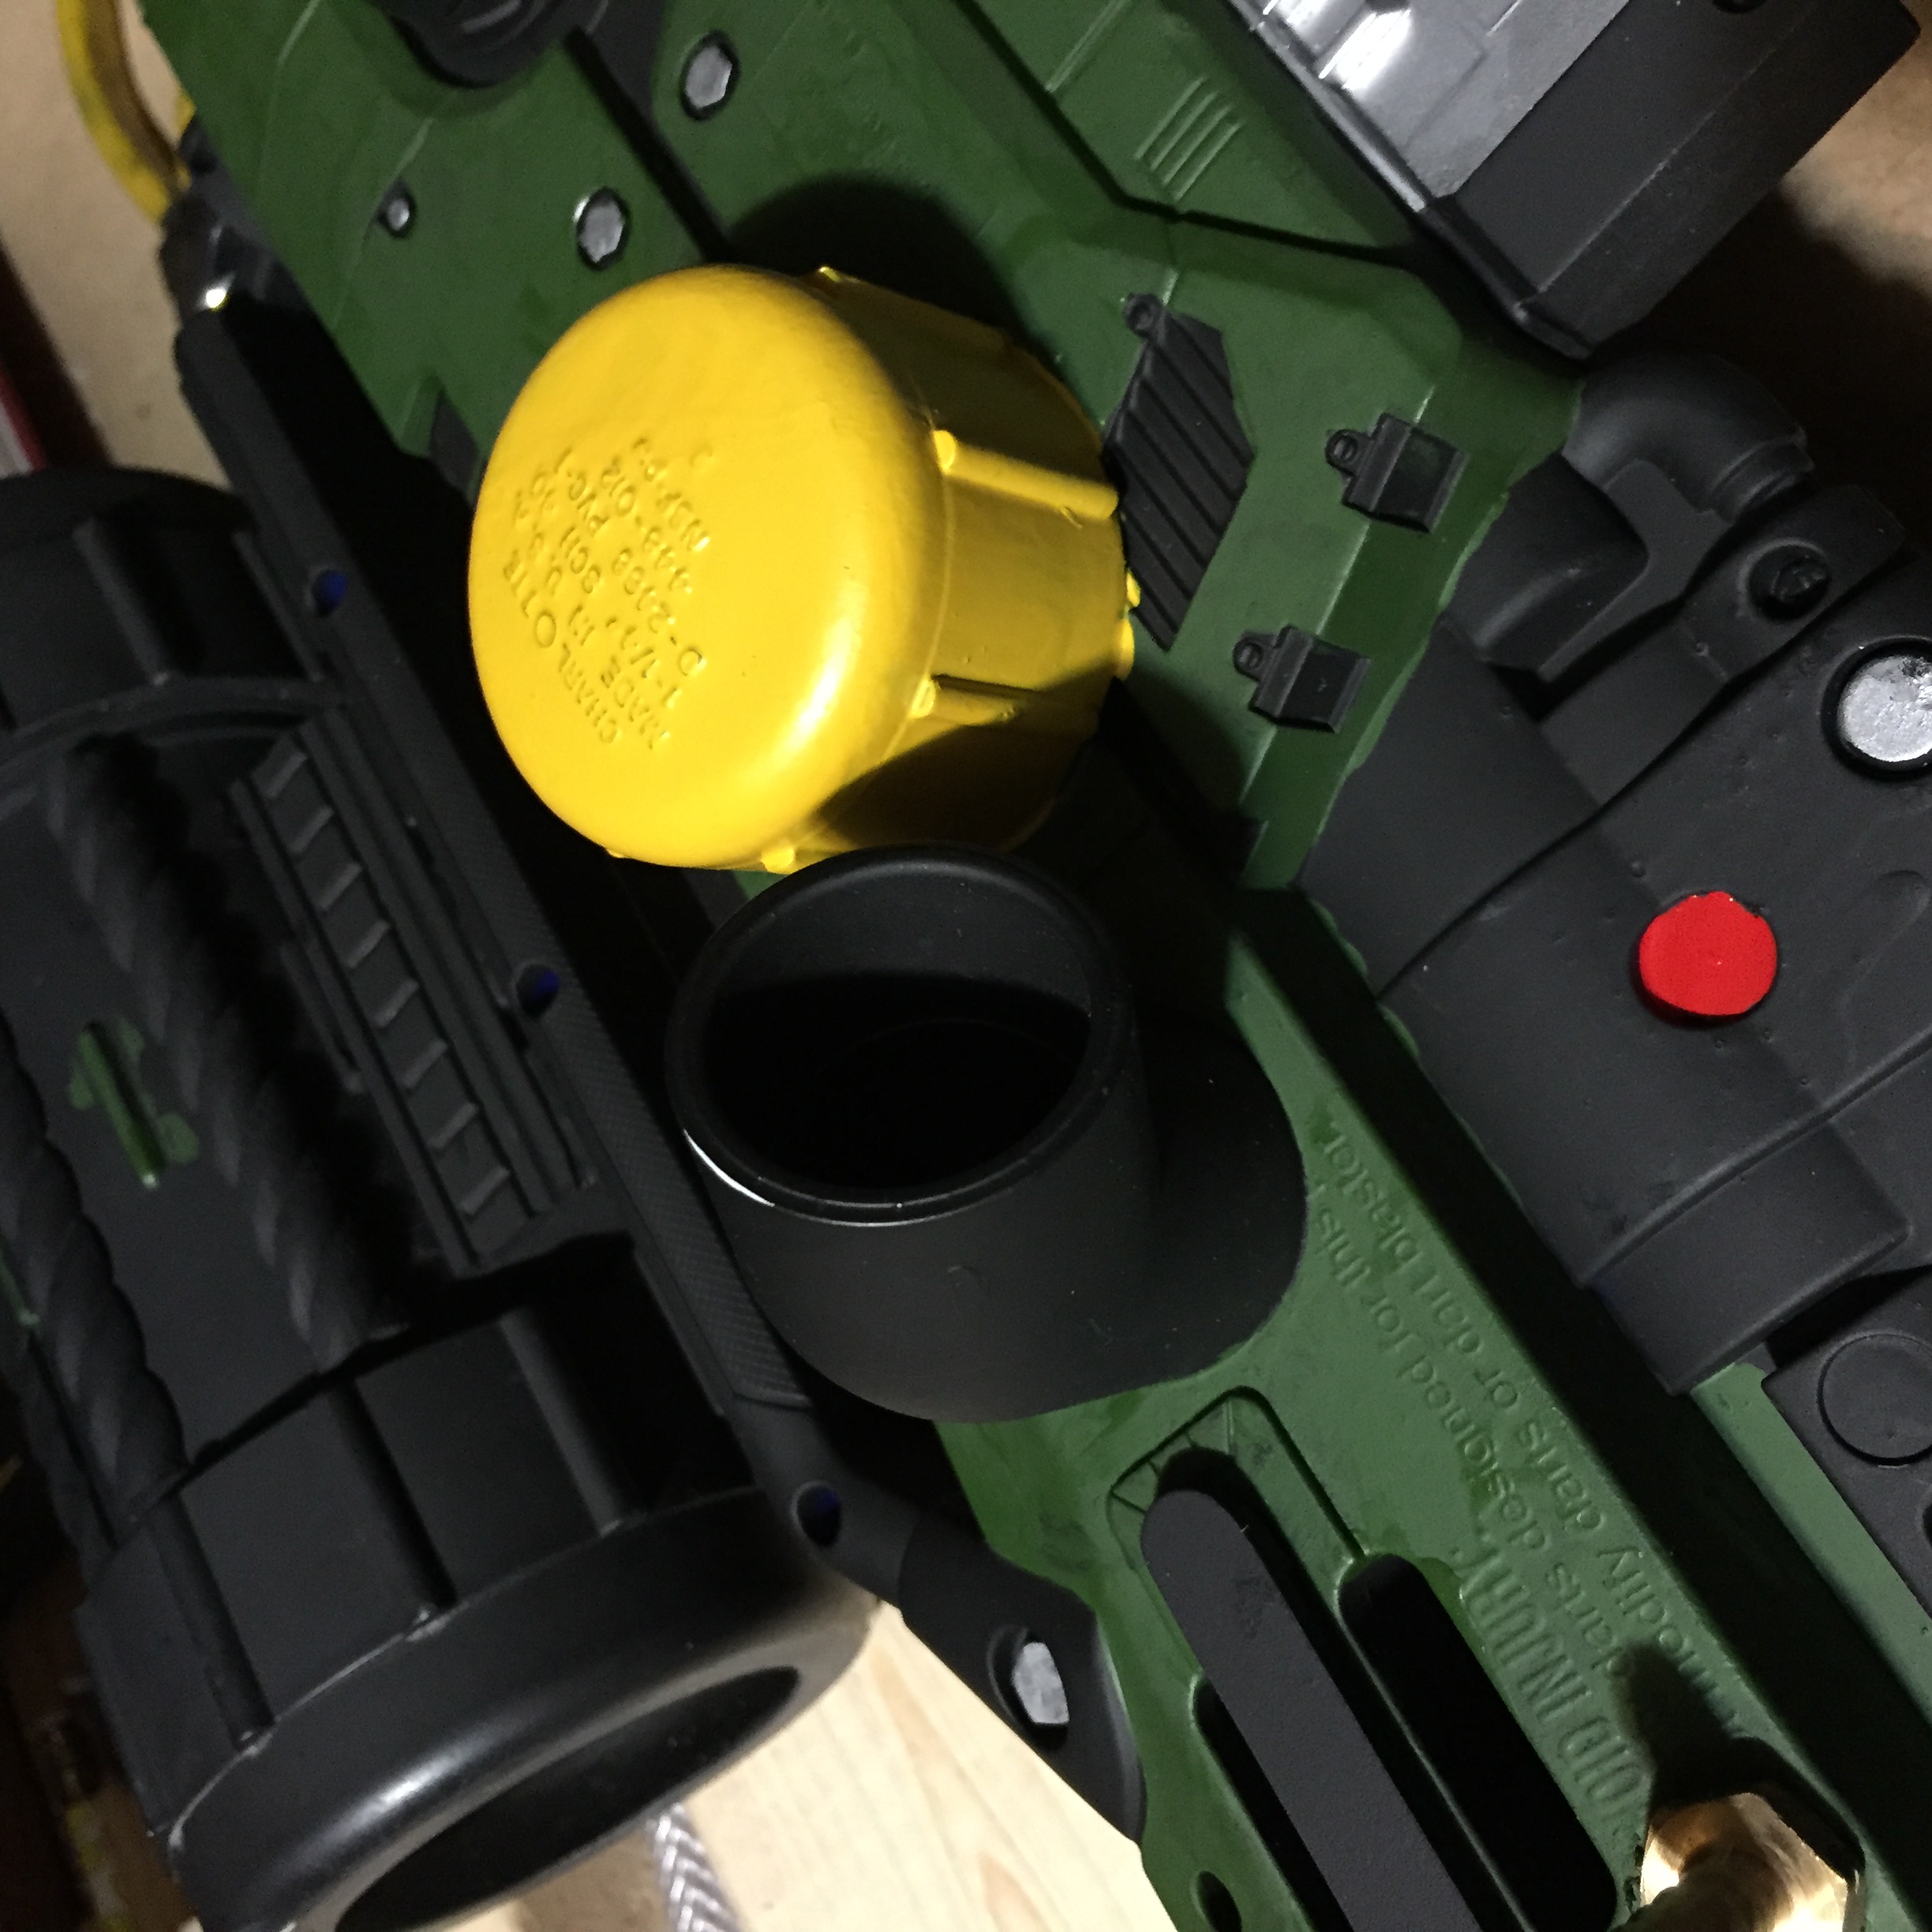
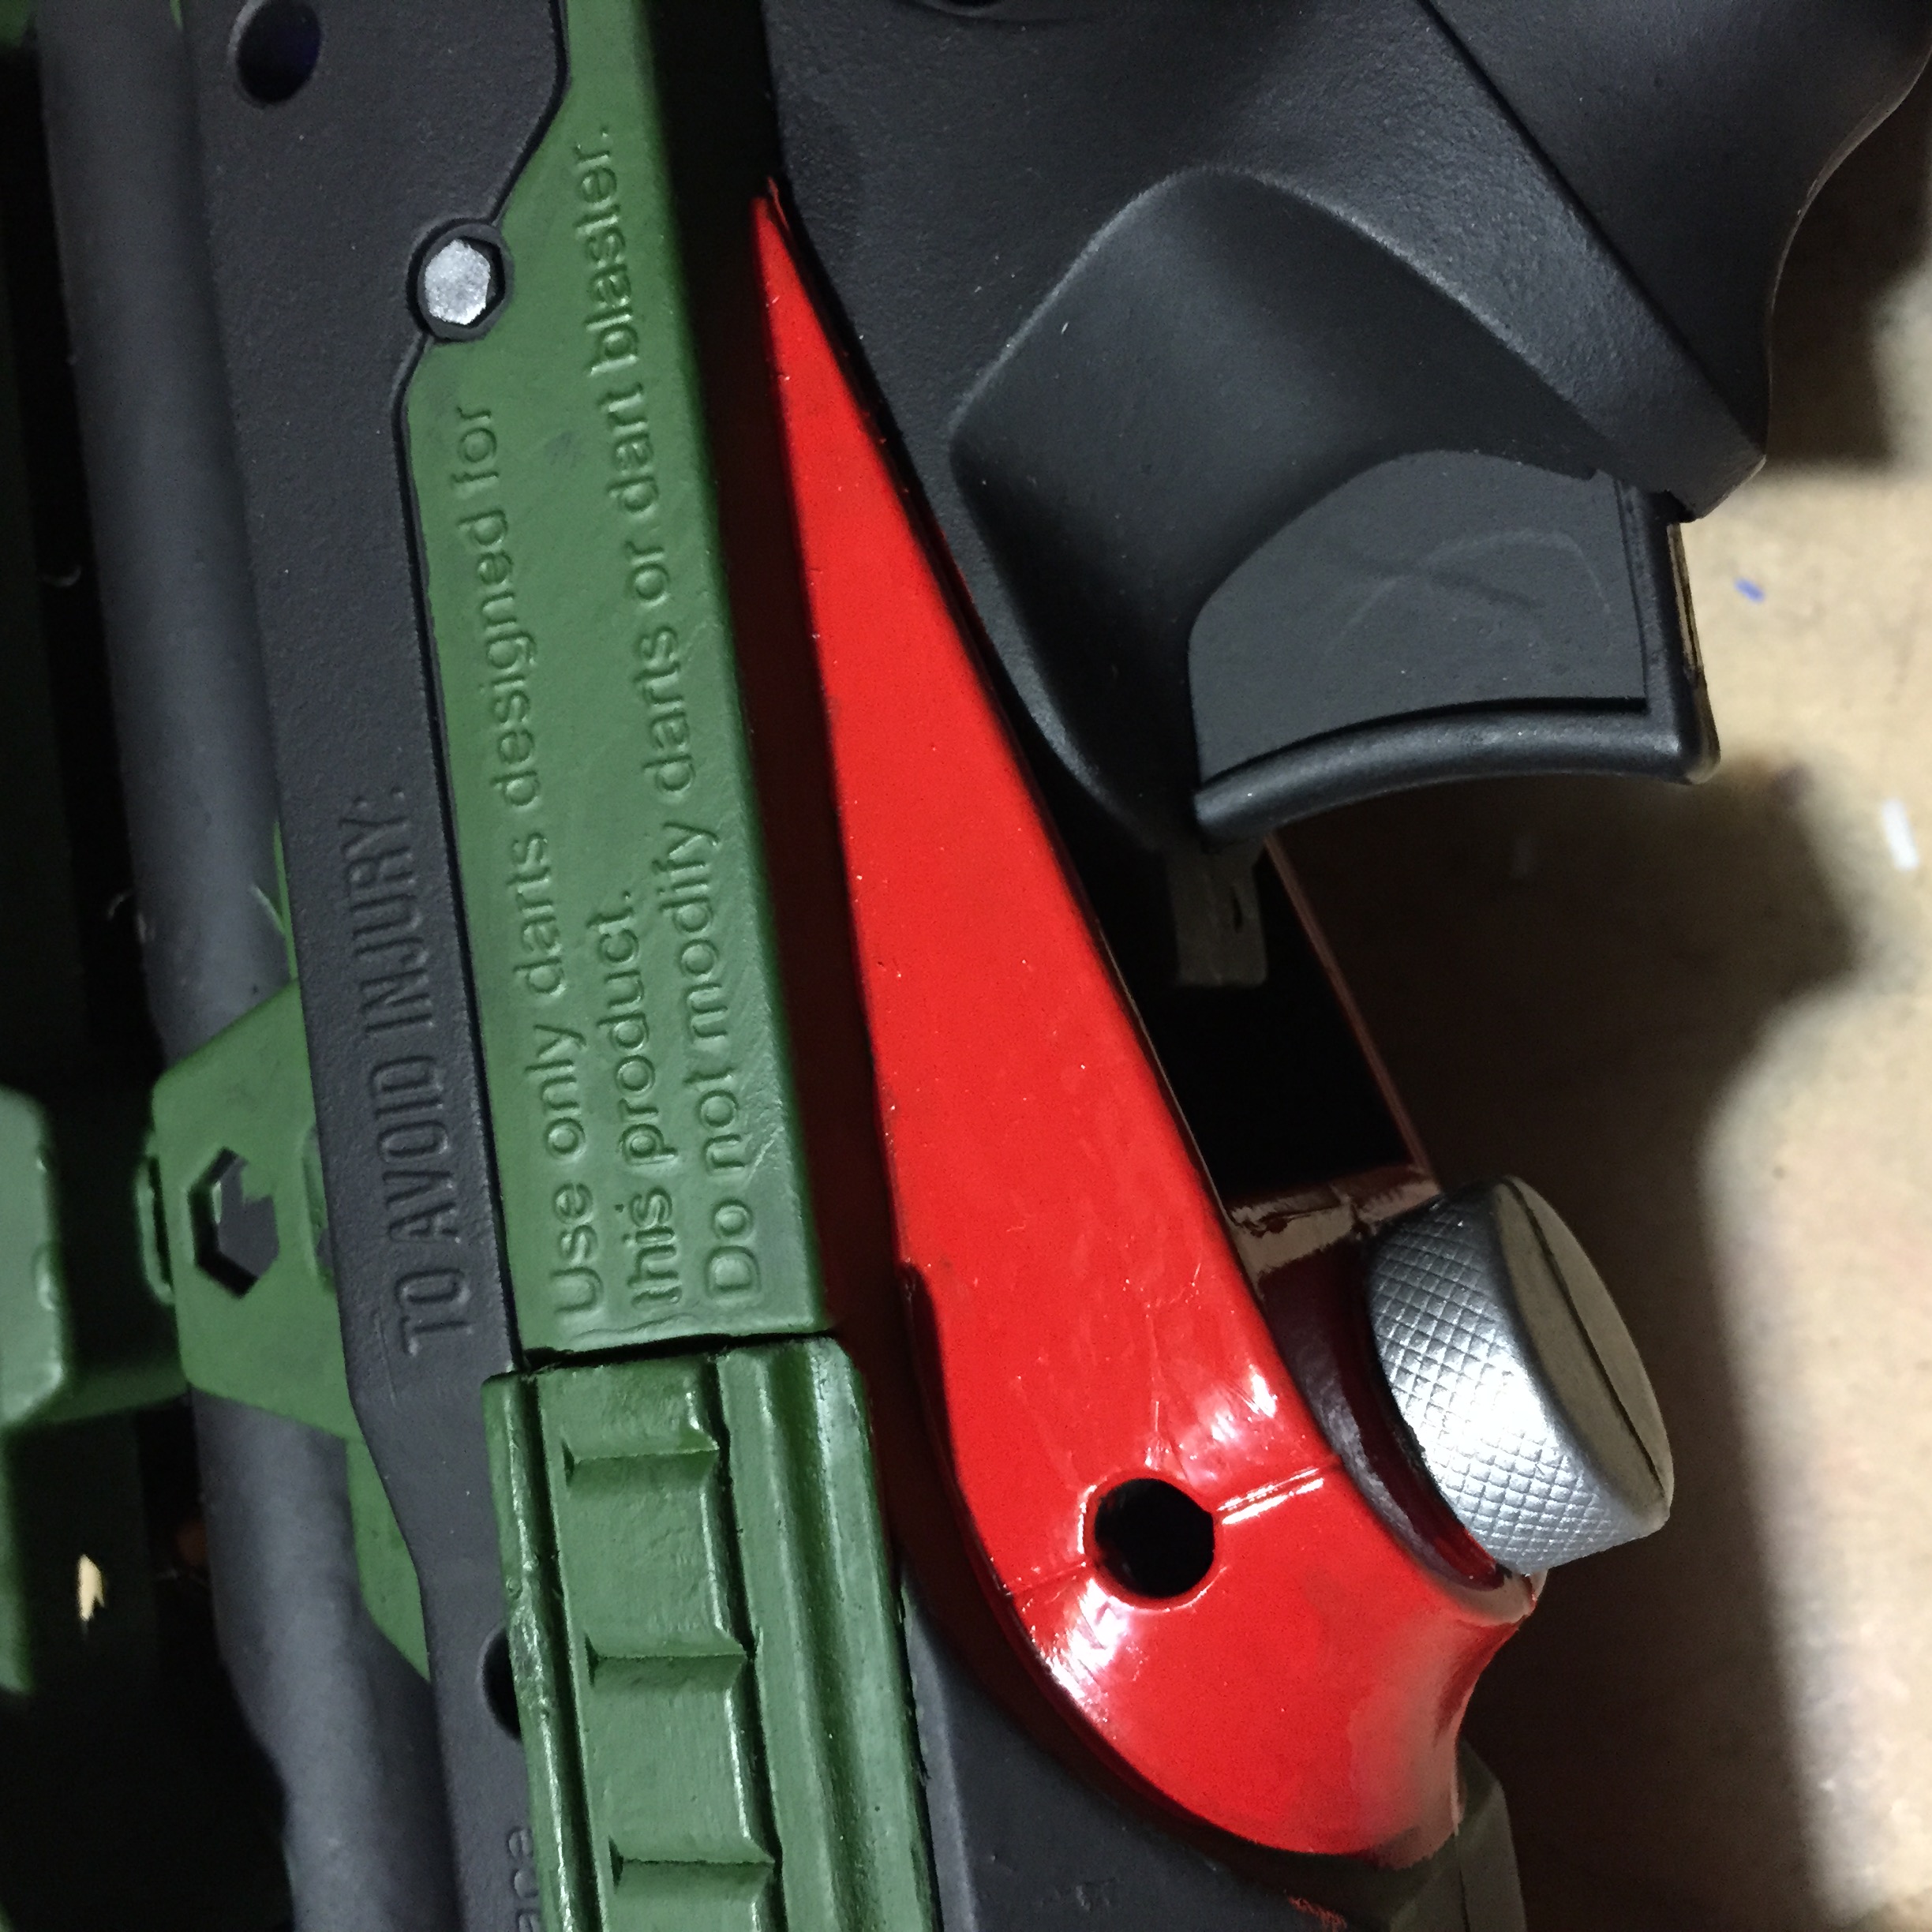
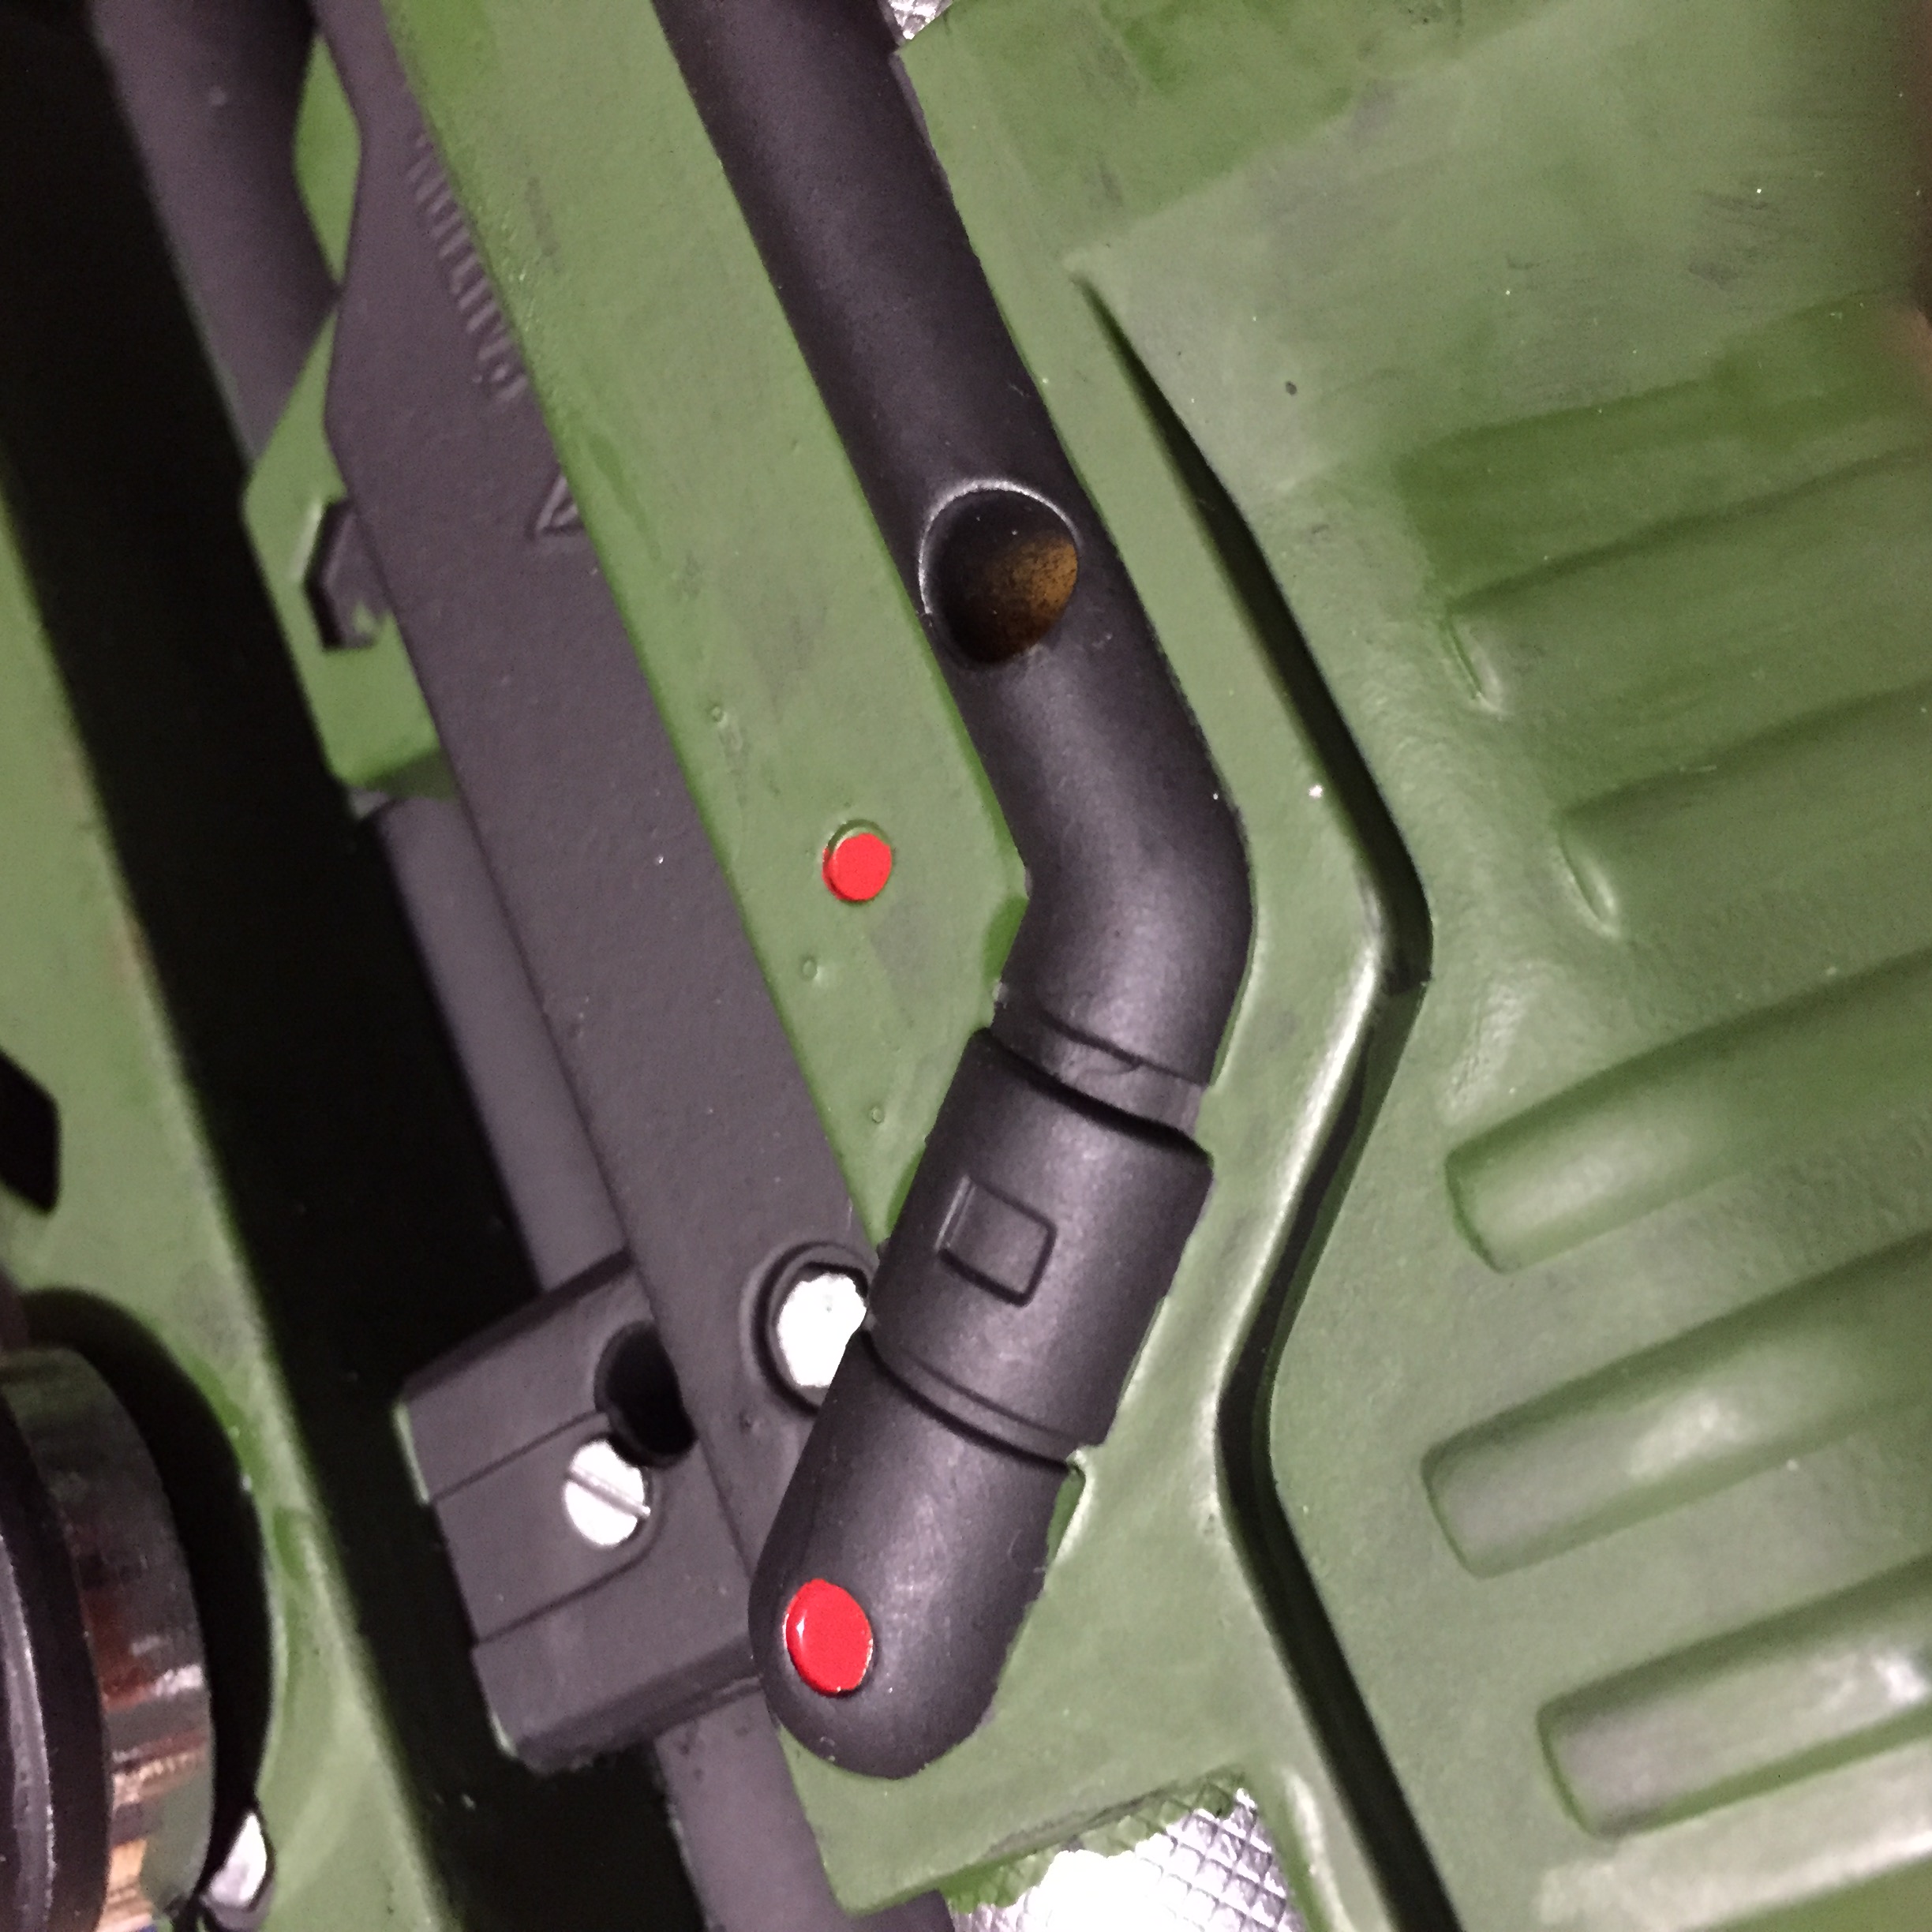
I just decided, two minutes back, this year’s gun will be called SNPR15 as in Sniper 2015. The rifle is a modified Nerf Longshot. First I primed the prop with Rust-Oleum®’s Black Primer. Color was painted on using Testors Model-Master‘s paints. I used Medium Green, Red-Orange and Blue Angels Yellow. I took my time and used a small brush. I also tried my best to cover up all Nerf logos and branded wording. Obviously people will recognize the Nerf as it is a popular model, but I would like to give them pause if possible.
Welp, here we are. Another year and another opportunity to impress fans and muggles alike. There are a few weeks left before we pack up the SUV and drive the 12 hours to Atlanta and Dragon•Con. A few weeks left to finish up all the prop work and costume building. To be honest, I didn’t actually start and of my construction until two days ago. No time, well very little of it. No pressure.
In past years I have recycled my costume and made brand new guns, BFG. However, this time around I’m going to switch it up a bit. I’m going to go the route of Shrike and modify an existing gun, as in a NERF and build a new costume.
A few weeks ago I purchased a used Nerf Longshot CS-6 as my base and will be adding bits and pieces to it to make it, well, mine. I enjoy building guns from scratch and creating my vision, building something unique and one of a kind. This year however, due to motivation and subsequent time restrains I’m taking a different route and so far I am feeling good with my progress. I will post progress photos in a future post.
My costume in the past few years has been very Army, but unfortunately not very “punk.” After evaluating my costume during the 2014 Dragon•Con I came to the realization that without my gun my costume doesn’t scream Dieselpunk on its own. So this year I start new. I bought a new, less expensive, kilt which I will feel fine with modifying. I plan on sewing material to it, adding hits of color, stenciling numbers and more. I have been looking at the P-51 Mustang from WWII as inspiration for my costume. My plan is also to mix in non-period specific fabrics into the WWII looking costume. As you may or may not know, in late August, early September it is brutally hot in Atlanta. In the past I have always been extremely hot in my costume to the point of insanity. For this reason, I incorporate a kilt in my costume. In addition to that though, I want to add areas of mesh fabric to my shirt to help vent unwanted heat and humidity.

Posted by Colonel Griffon — Here is the next step in my weapon build. I brought my sketch into Adobe Illustrator and traced it. After tracing the sketch I put the new drawing over a grid where every square represents and inch. Then I scaled the drawing so that the length of the weapon was at four feet. The it was time to tweak the drawing—making edits to the look and being very precise on the measurements of all the parts. The reason I want to be correct with my numbers from the start is to make the build easier, especially when it comes time to cut the materials that will eventually become the final piece.
After I was satisfied with the look of the weapon I printed it out. Since the drawing is so large I had to print with the tile setting. The drawing above took 24 sheets of paper to print at 100% (including overlap around all sides for trimming the unneeded white boarded). Then I taped all the sheets together so I had the full drawing as a reference. Once I am ready to cut pieces I will lay the blueprint over my material with a sheet of carbon paper in between. So far this is the best way that I have found for transferring the blueprint to wood, MDF, plastic, etc.
Next step, cutting out the parts.
After equipping the M60 Vellera for two years — first the Mk I and then the lighter Mk II — this year I’m going to build out a new Pulse Rifle.
The base is going to be an Airsoft rifle, so I can take advantage of a pre-made grip/trigger, stock, and framework. From there I’ll add custom pieces to give it the Diesel look. More than likely I’ll use a chrome muffler tip again for the “muzzle.”

Posted by Colonel Griffon — I wanted to give you all a heads up on my new weapon idea for Dragon*Con (D*C) 2013. Right now the working name is DF13 Splice. In the past two years both my weapons have been around four feet in length. The weapon above will also be four feet in length.
The important thing to keep in mind as I finalize the “blueprint” is that this weapon needs to be able to come apart for cheaper shipping. I fly to D*C every year and don’t feel comfortable checking my props in at the airport. This year’s DF12 came apart in two parts which made it easier for mailing.
My plan is to use MDF, PVC pipes and end caps, and PVC board. I will be adding LEDs where I can to give the weapon some pizzaz.